A Smart Home Dashboard is a great way to quickly interact with your smart home. It allows you to check the status of your smart home at a glance and easily interact with your devices. Combine this with a wall-mounted tablet and you have the ultimate smart home dashboard.
There are different options for the Smart Home Dashboard itself, you can use Home Assistant, Node-Red, or Sharp Tools for example. In this article, I am not really focussing on the different dashboard systems, but more on how you can use a tablet to run a Smart Home Dashboard and how to mount it to the wall.
This is the first article in a small series:
Best Smart Home Tablet
So the first step is to get a tablet that we can use for our smart home dashboard. Basically, you can use any tablet if you want. But for the best result, you probably want a tablet with a small bezel and wireless charging.
The tablet obviously needs to have a constant power source. Now you can of course just plug in a charger, but for a nice clean installation, a Qi-compatible tablet is really the best option. This allows you to mount a Qi charger in the wall and the tablet in front of it.
A smart home tablet doesn’t have to be powerful as well, it only needs to run one app or website and that’s it. So in my opinion the Amazon Fire HD Plus tablets are perfect to use as a Smart home tablet, here is why:
- Available in 8 or 10inch
- Supports wireless charging
- Relative small equaly sized bezel
- Really cheap
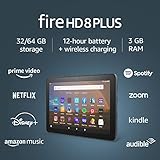
- 8" HD display, 2X the storage (32 or 64 GB of internal storage and up to 1 TB with microSD card) + 3 GB RAM.
- All-day battery life & wireless charging - Up to 12 hours of reading, browsing the web, watching videos, and listening to music.
- Now with USB-C for easier charging. Fully charges in under 4 hours (with included cable and adapter).
- 30% faster thanks to the new 2.0 GHz quad-core processor.
- Enjoy your favorite apps like Netflix, Facebook, Hulu, Instagram, TikTok, and more through Amazon’s Appstore (Google Play not supported).
Make sure you buy the version without Lockscreens ads (we can remove them, but you may lose your warranty then). Also, a good idea is to add an anti-glare screen protector. Not that you really need to protect your screen, but the reflection of lighting (sun, lamps) can really be annoying.
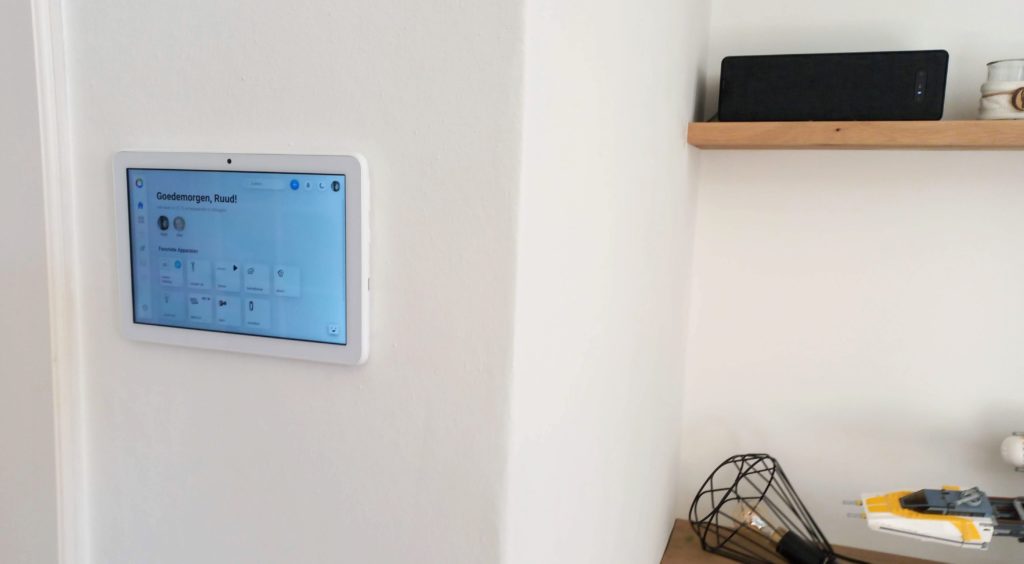
Now as you will see in the pictures, I have bought a white Fire HD, without wireless charging. The reason is simple, I have placed the tablet on a white wall, and this way it blends in really nicely. (black would just stand out too much).
With the help of a Qi Charging Receiver, you can turn any tablet into a wireless charging tablet. I will explain more about that later.
Install Android on Fire Tablet with Fire Toolbox
If you are not using a Fire tablet, then you can skip to the next part where I explain how I have mounted the tablet to the wall and used a full-screen browser on Android.
So the Amazon Fire HD tablets are a great option when it comes to technical specifications, but the Amazon bloatware (software) is a bit annoying. To make the Fire HD more useful we will need to remove most of the Amazon apps and install Google Play Store on the Fire tablet.
For this, we are going to use Fire Toolbox which you can download here.
1. Enable USB Debugging on Fire Tablet
First, we need to enable USB Debugging on the Fire Tablet.
- On the tablet, go to Settings > Device > Options > About and tap 7 times on the Serial number until you unlock Developer Options
- Press back and open Developer Options
- Turn Developer Options on
- Scroll down and enable USB debugging
2. Connect the Fire HD tablet to your computer
The next step is to connect the Fire HD tablet to your computer using a USB cable. On the tablet, you will get a notification to allow USB debugging and trust the computer. Thick the box Always allow from the computer and tap ok.
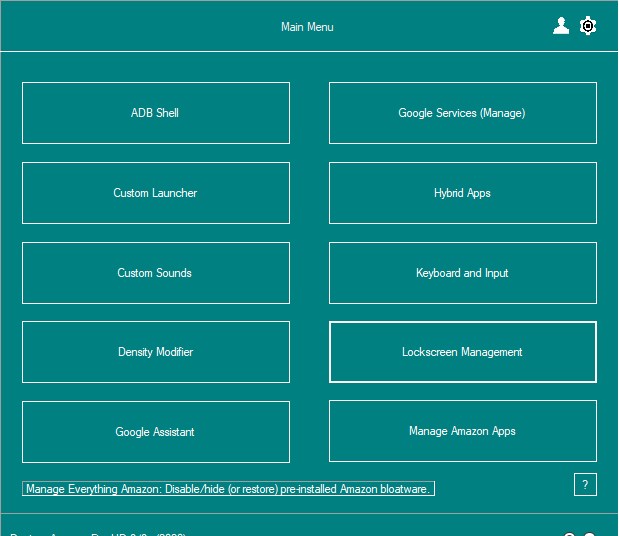
3. Using Fire Toolbox
Open Fire Toolbox and choose a color scheme to continue. With Fire Toolbox we are going to install Google Play Store, remove Amazon Apps, change the launcher and change the lock screen.
Follow the setup tour to quickly set the most common settings.
- Modify System Setting – to disable OTA and Automatic updates.
- Privacy Controls – Toggle off all options and click Randomize ID
- Manage Amazon Apps – Complete Debloat. This will remove all the Amazon Apps.
- Custom Launcher – I have replaced it with the Microsoft Launcher
- Custom Keyboard – You can change if you like
- Google Services – Installs Google Play Store. This steps sometimes crashes, just run it again. Or reboot the tablet and run it again.
If you have gone through all the steps you will have a clean Amazon Fire HD tablet with Google Play Store installed on it. This way you can install the browser and apps that you want to use.
4. Installing Full Screen Browser
With the Fire Toolbox still open, we are going to install the Fully Kiosk Browser. This app not only allows you to open a browser full screen on your Android device but also gives you a lot of controls when it comes to sleep modes, lock screen, scheduled wake-up, etc.
The most important feature, the full-screen browser, is free to use. If you want to use scheduled wake up you will need to buy a license for the app.
There is a specific version for the Fire OS that runs on the Fire HD tablet. You can download the correct APK file on this page on the right side.
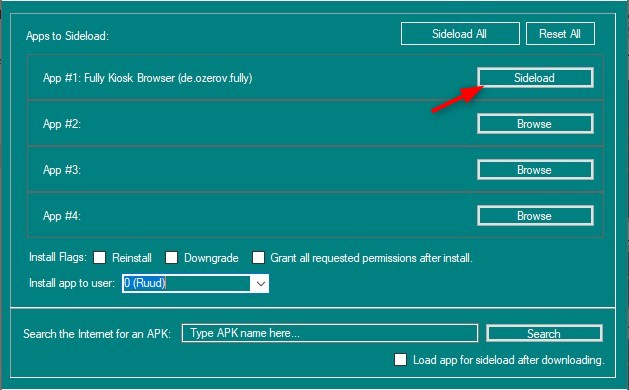
With the APK downloaded, go back to the Fire Toolbox:
- Go to the second page (the small radio button in the lower right corner
- Click Sideload Apps
- Browse to open the APK file
- Click Sideload to install the app
Mounting the Smart Home Tablet to the Wall
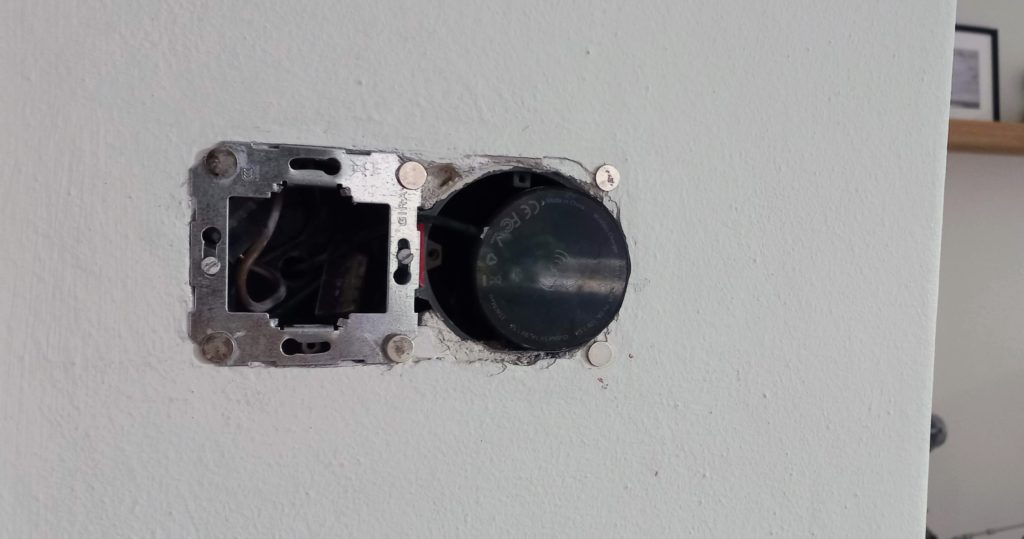
I wanted to mount the tablet as flat as possible to the wall without the use of any brackets or visible clamps. The tablet is in my case mounted over an unused wall socket, which allows me to place the Qi charger inside the socket.
On the German Amazon site, I found a really small Qi Charger that fitted perfectly in my socket box. It’s only 6cm in diameter and 0,6cm thick.
To mount the tablet against the wall I have used small N35 neodymium magnets. I have glued one magnet on the back of the tablet and another on the wall. 6 magnets on each side will hold the tablet perfectly.
As mentioned, the white Fire HD tablet doesn’t have a built-in Qi receiver. So I added a type c Qi Receiver to the back of the tablet. Make sure you pick the receiver with the long cable, and not the short one. Otherwise, you won’t be able to position the receiver over the Qi Charger.
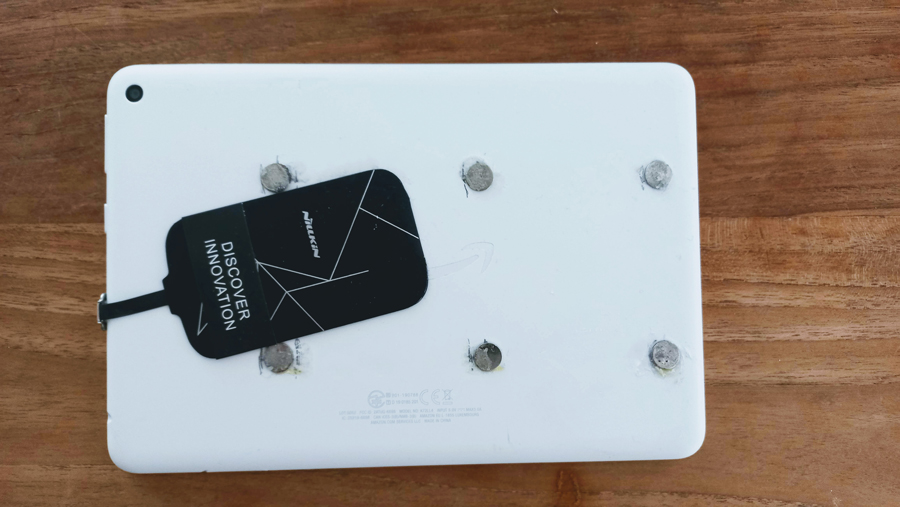
The magnets are glued with super glue. This works perfectly on plastic, drywall, metal, etc.
Using a Full Screen Browser on Android
Most smart home dashboard systems are basically a webpage that you need to open. For the best experience, you probably don’t want the status bar or navigation buttons. So we need to run the browser full screen on Android.
As mentioned in step 4, we have installed the Full Kiosk Browser with the Fire Toolbox. If you are not using a Fire HD Tablet, then you can also download the Full Kiosk Browser from the play store.
The free version of Full Kiosk Browser will do for most. You can set an URL that will open automatically. The browser will also position itself above your lock screen, so you can keep your tablet secure for the other apps, but don’t need to unlock it to use your smart home dashboard.
If you buy a license for Full Kiosk Browser, you will get access to much more useful settings:
- Turn on screen based on motion detection of the camera
- Automatic wake up / sleep timer
- MQTT integration
- Kiosk mode (lock down device with pin)
Wrapping Up
Smart home tablets are a great way to extend your smart home. The tablet allows guests and other family members to easily interact with your smart home devices. The Amazon Fire HD Plus tablets are the best smart home tablets after you have stripped them from the Amazon software.
When mounting your tablet with magnets against the wall, make sure you add enough magnets. Also, when you need to remove the tablet, make sure you slide it sides of the wall. Don’t pull it straight towards you, because you risk pulling the magnets of the wall as well.
The next article in this series is online: Install Home Assistant on a Raspberry Pi
If you have any questions, just drop a comment below.


Hi Rudy,
Great article (as are your other HA posts). I only wonder, if you mount a wireless charging tablet on the wall aren’t you creating a fire hazard? I’m kinda hesitant in doing this in my home.
I don’t get hot or anything, so it should be ok. It’s working great for a year now.
It appears that the more recent FireOS will no longer allow the level of customization many expect. Can these instructions still be used on FireOS 7.3.2.2
How did you connect the Qi to 220V? Where did you hide the adapter?
Inside the closet is an electrical outlet. So I drilled through the wall 😉
What website did you use for your dashboard?
You can find the steps to create the dashboard in this article
The first picture of the tablet in this article is from the Homey Dashboard.
Thanks for the info – very useful for the physical setup.
I am also interested in what software setup to use. I find that Google Home does not fit all my needs. I prefer using the native apps – Tado/Hue/Spotify/Sonos/etc.
Is there any way to do this? Dividing the screen into several (I know 2 is possible), or using a third-party app with more customization options?
Keep an eye on the newsletter. Coming weeks I am going to build my own dashboard and will do a write-up about it.
I’m looking for the same. I purchased a Fire tablet to use as a dedicated Sonos controller, but now interested in making it a whole home controller.