The Flush DNS command will clear your local cached DNS records. Your computer will do this automatically, but you can safely force it with one of the following commands.
How to Flush DNS on Windows
You can Flush your DNS cache in Windows with a single command. To run the command you can use the Command Prompt or PowerShell.
- Right-click the start menu
- Select Command Prompt (Admin) or Windows PowerShell (Admin)
- Type
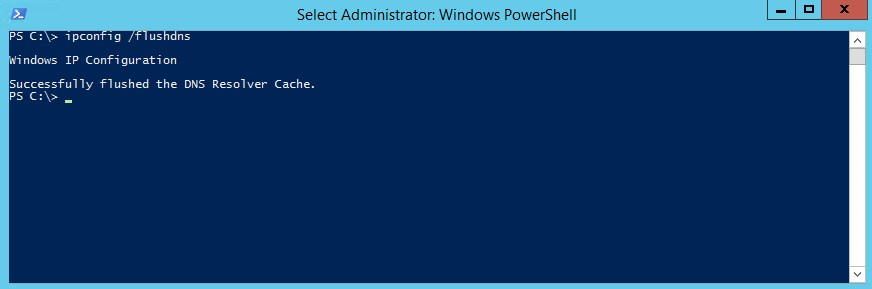
ipconfig /flushdnsand press enter - You will get a message that the cache is successfully flushed. You can now close the window.
Flush your DNS on MAC
On macOS, you can Flush your DNS cache also with a single command. We are going to use the terminal for this.
- Press the command key + space
- Type terminal
- You should see the terminal as the top result, open it.
- In the terminal type
sudo killall -HUP mDNSResponderand press enter. - The DNS cache is now flushed.
What does Flushing DNS do?
Your computer caches all your DNS requests locally. This way it won’t have to resolve the IP address everytime when it makes a request to the same DNS address.
But sometime your computer may have cached an address that isn’t correct anymore. You may notice this when your try to connect to a server, printer or other network device. The device is on, but your computer is unable to reach it.
Devices that don’t have a static IP address can get a different IP address everytime they are rebooted. If the address in your DNS cache isn’t expired yet, then you can get a mismatch.
If you flush your DNS then your local cache is cleared. This way your computer will have to renew it’s local cache, resulting in the correct IP addresses.
View your DNS Cache
Ever wondered which address your computer has stored in it’s DNS cache? With the command below you can view the contents of your DNS cache. Just like with ipconfig /flushdns we are going to run the command in Command Prompt (cmd) or PowerShell.
- Right-click the start menu
- Select Command Prompt (Admin) or Windows PowerShell (Admin)
- Type
ipconfig /displaydnsand press enter - You will get a message that the cache is successfully flushed. You can now close the window.
The result of the command ifconfig /displaydns will look like this:
❯ ipconfig /displaydns

Windows IP Configuration
 lazyadmin.nl
    ----------------------------------------
    Record Name . . . . . : lazyadmin.nl
    Record Type . . . . . : 1
    Time To Live  . . . . : 272
    Data Length . . . . . : 4
    Section . . . . . . . : Answer
    A (Host) Record . . . : 104.24.99.228
Ipconfig DisplayDns explained
If you have taken a look at the results of the displaydns switch, you might be wondering what some of those records mean. So let me explain it:
| Record Name | The actual DNS name. |
| Record Type | DNS record type displayed as a number. 1 is for example an A record. |
| Time to Live | Time in seconds when the record is expired. |
| Data Length | Lenght of the records in bytes. 4 bytes is an IPv4 address for example. |
| Section | The actual answer to the DNS query. Can also be “additional” if it contains information to find the actual answer. |
| <type> Record | Actual data that is stored in the cache. |
Wrapping up
I hope you have now a better understanding of how the local DNS cache works and how to flush it. If you have any questions, just drop a comment below.
You may also find the following articles interesting:


