Sharing your calendar in Outlook allows your colleagues to see your availability or even manage your calendar. To do this, we can use different Outlook calendar permissions that we can set in Outlook.
Calendar permissions in Outlook determine how much details your colleagues can see and what they can or can’t do in your calendar. Calendar in Outlook can don’t only be shared internally, but it’s also possible to share your calendar with external users.
In this article, I will explain how you can set the permissions and explain the different Outlook calendar permissions levels.
Outlook Calendar Permissions Levels
So before we are going to take a look at how to set the calendar permissions, it’s good to first understand the different permission levels. When sharing your calendar you can choose between the following permission levels:
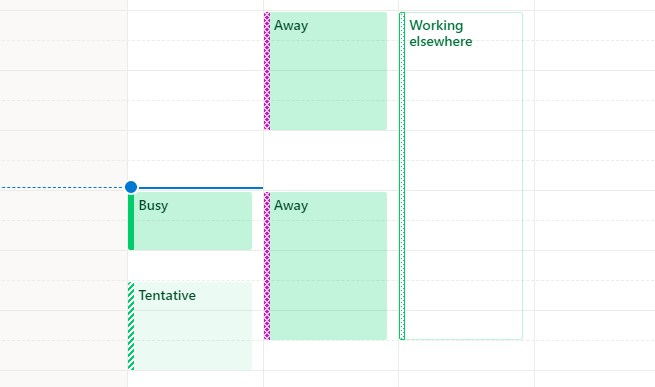
Can view when I’m Busy
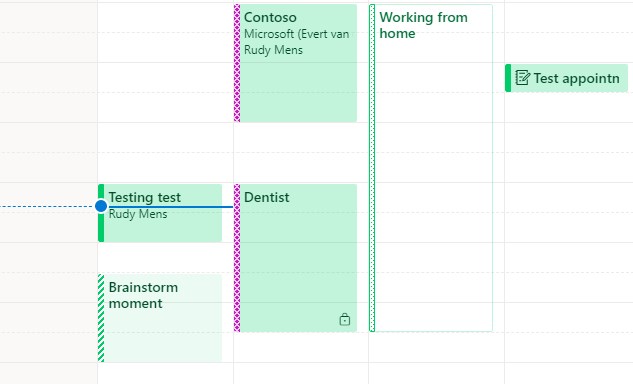
This is the default permission level for your colleagues in your Organization. Your colleagues can open your calendar and only see if you have an appointment and if you are available, busy, or out of the office.
Can view titles and locations
For your direct colleagues or your manager, you probably want to show a bit more details when it comes to your calendar. Showing the titles (subject) and location of your meeting allows your colleagues to better judge if they can invite you for another meeting before or after a planned meeting.
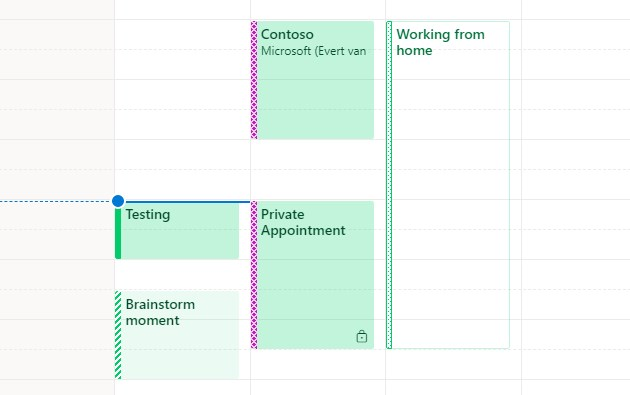
Meetings that are marked private are displayed as a “private appointment” and only show if you are out of office, tentative or busy. Any notes or attachments that you have added to the appointment won’t be displayed.
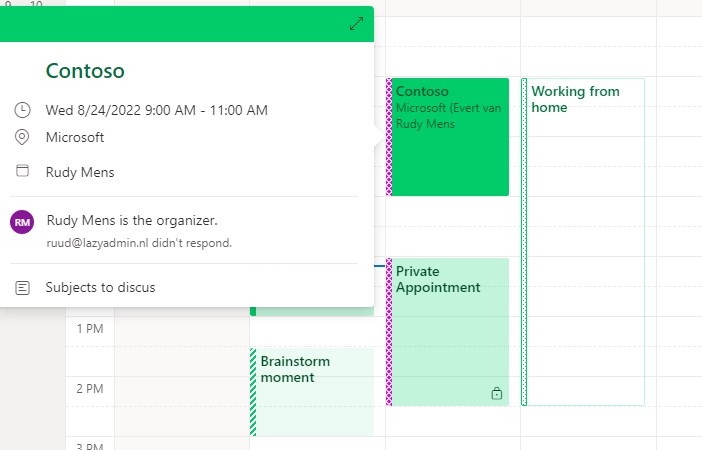
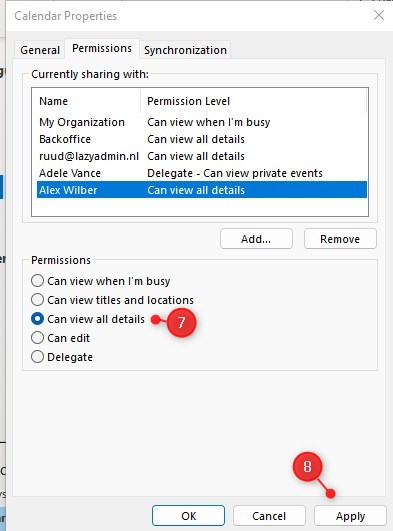
Can view all details
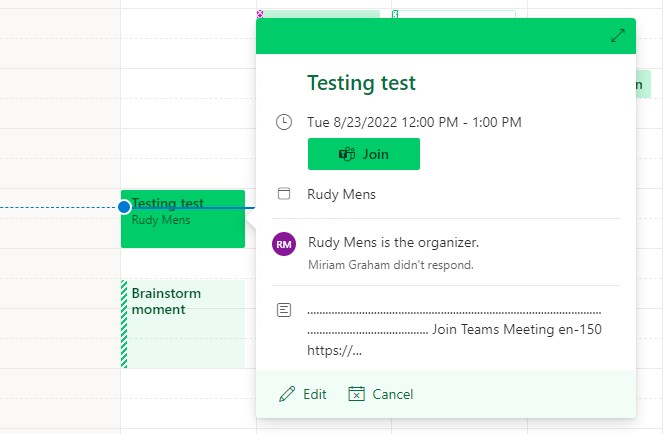
The view all details permission level looks almost the same in the Outlook calendar view. The difference is that also the attendees are displayed, and any meeting notes and attachments of the meeting when you click on the meeting or open it.
Can edit
Colleagues with the can edit permission level in Outlook can add, remove or add appointments in your calendar. The difference with the delegate permission is that they don’t receive the meeting requests and meeting invite responses for you.
For a secretary you often want to assign the delegate permission, so he or she can fully handle of all incoming and outgoing meeting requests.
Keep in mind that external users can be assigned the can edit permission.
Delegate
The last permission level that we can set in the Outlook calendar is Delegate. Is permission level can only be assigned to users or groups, and not the whole organization or external users. When assigning the delegate permission, you can optionally also give access to view private events.
We can fine tune the meeting request and responses when it comes to delegates. For this we will need to open the Account Settings in Outlook:
- Click on the File tab in Outlook
- Expand Account Settings
- Select Delegate Access

Here we can configure if meeting request should only go to our delegates, to your self and the delegates, or to send only a copy to the delegates.
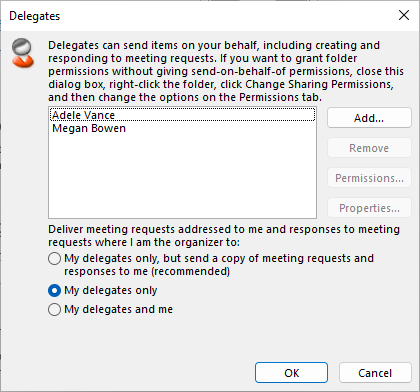
If you select a colleague and click on Permissions you can also change the permission levels and/or fine-tune if the delegate can view private items etc.
How to assign Outlook Calendar Permissions
So now you know the differences between the calendar permissions levels, we can start assigning the permission in Outlook. You can set the permissions in both Outlook and Outlook Online, I will show both method below.
Set calendar permissions in Outlook
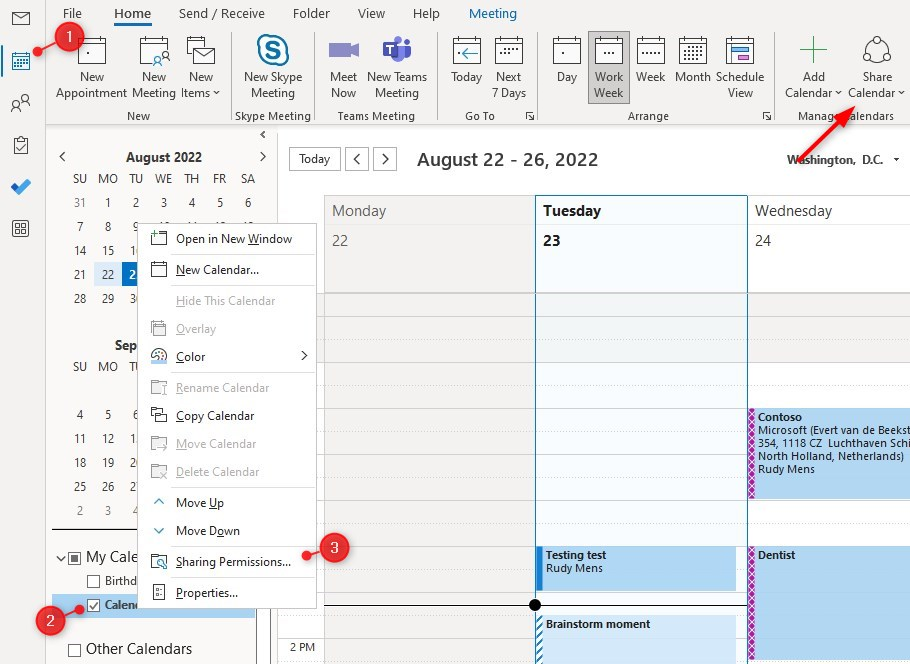
- Click the calendar icon
- Right-click on Calendar
- Choose Sharing Permissions
- Another option is to click on Share Calendar in the toolbar on the Home tab.
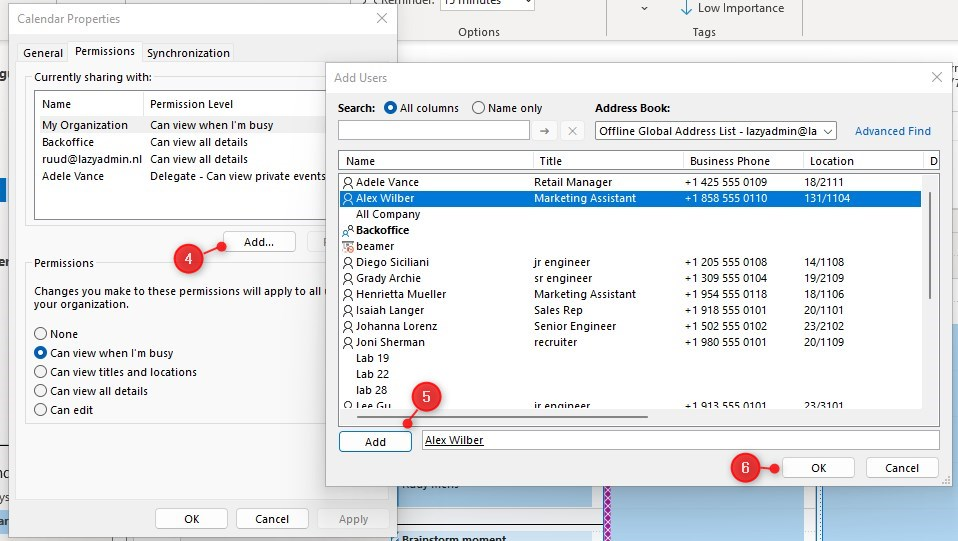
- Click on Add to select an colleague
- Select the person(s) or group that you want to give permission and click Add
- Click Ok
- Select the appropiate permission that you want to give
- Click on Apply
Set calendar permission in Outlook Online
We can also set the permissions using Outlook Online. First open Outlook Online:
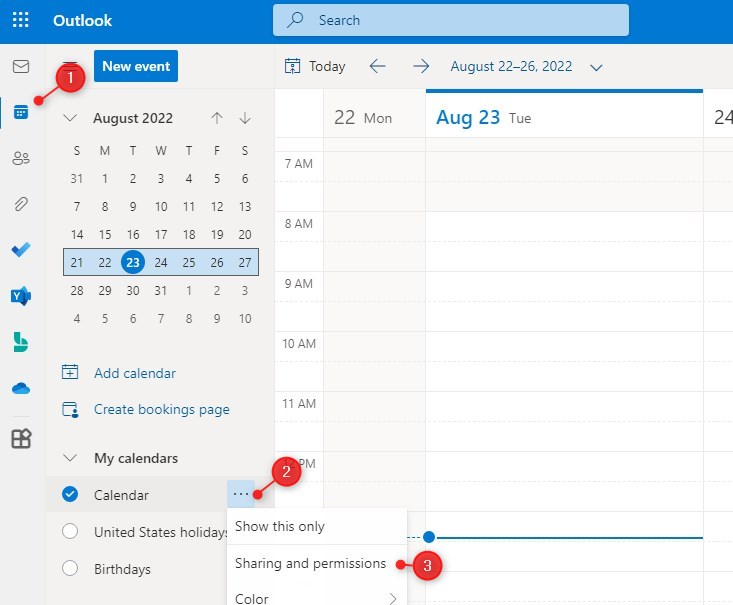
- Click on the Calendar icon
- Click on the more options dots behind your calendar
- Choose Sharing and Permissions
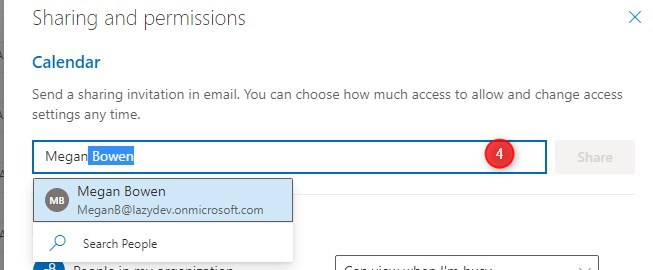
- Search the person or group that you want to give permission to
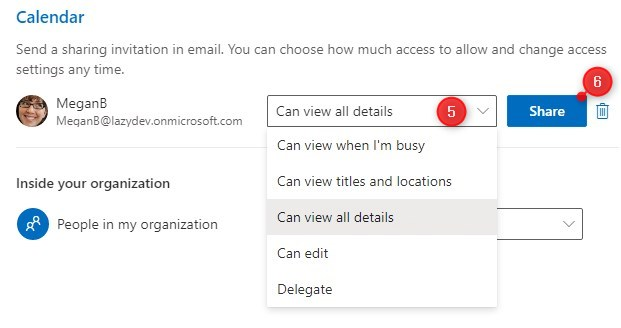
- Select the permission level
- Click on Share
Wrapping Up
When you change or add calendar permissions in Outlook it can take a minute before the permission is available for the user. Sometimes it helps to refresh the page (in case of Outlook Online), or to hit the send and receive button in Outlook.
You can also manage the calendar permissions using PowerShell, which is a great way to set or change permission for IT Admins. Read more about it in this article.
I hope this article helped you with the permissions, if you have any questions, just drop a comment below!


Is there any way to set the calendar permissions corporate wide? Like with a GPO?
Yes, you could use PowerShell for that: https://lazyadmin.nl/powershell/add-set-mailboxfolderpermission/
When you change someones permission level does it notify them in any way?
No, not that I know. Only when you give someone permission.