When you want to use PowerShell to interact with your Azure AD environment you will need to install the Azure AD Module. This module allows you to manage your whole Azure Active Directory with PowerShell.
Good to know up front is that the Azure AD Module isn’t supported in PowerShell 7. Also, Microsoft is planning to deprecate Azure AD Graph (the endpoint that the Azure AD Module uses) after June 30, 2022.
In this article, I will explain how you can install and update the Azure AD Module in PowerShell.
Install module Azure AD
To install the Azure Module we will be using PowerShell. For production environments, is recommended to use the General Availability (GA) version. If you want to test out new features, then you could also install the Public Preview version of the module.
Time needed: 5 minutes
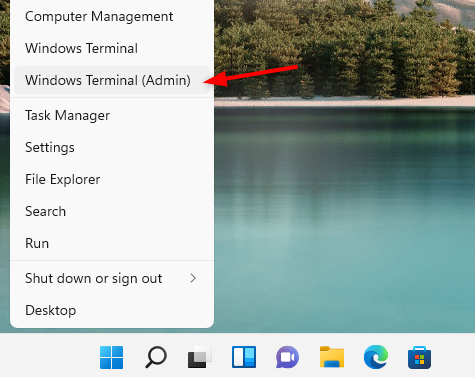
- Open PowerShell with Elevated permissions
– Right-click on your Start menu (or press Windows key + X)
– Choose Windows PowerShell (admin) or Windows Terminal (admin) on Windows 11
- Install Azure AD Module
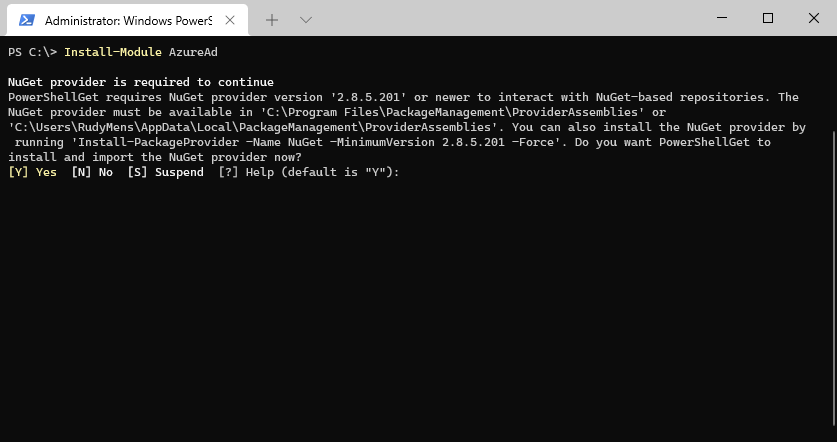
Type the following command in PowerShell:
Install-Module AzureAD
Type Y to install the NuGet provider when requested
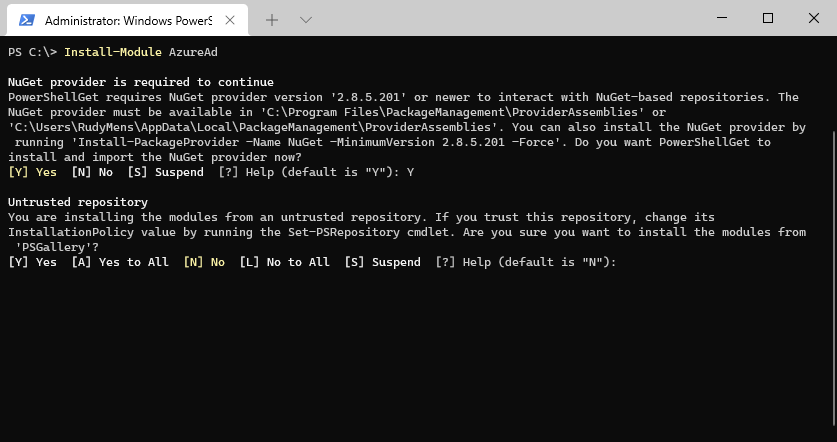
- Access Untrusted Repository
After NuGet is installed you will get the question if you want to install from an Untrusted Repository. Press Y to install the Azure AD Module
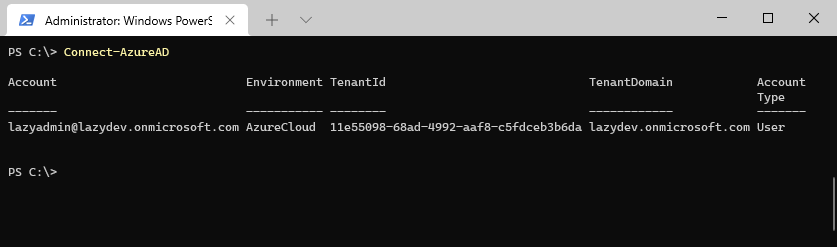
- Connect to AzureAD
The AzureAD module is now installed in PowerShell. You can test the module by connecting to Azure AD using the following command
Connect-AzureAD
Install the AzureADPreview Module
To install the preview version of the module you can follow the same steps. Only replace the module name with AzureADPreview:
Install-Module AzureADPreview
Update the Azure AD Module
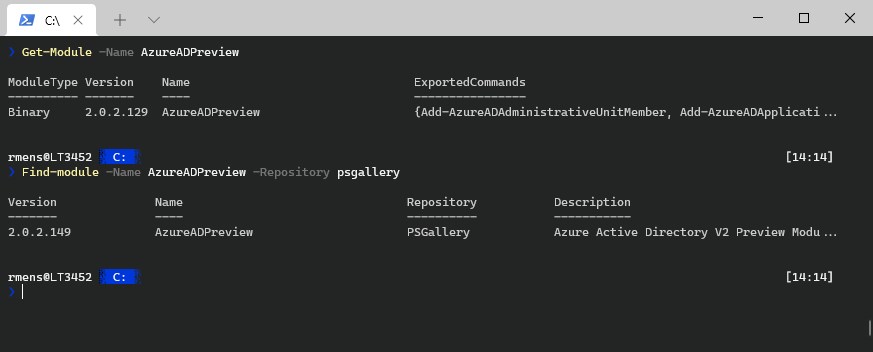
Updating the Azure AD Module is basically a re-install of the module in PowerShell. We can first check the version that you have currently installed with the Get-Module cmdlet
Get-Module -Name AzureADPreview
And then check the available version in the repository of PSGallery:
Find-module -Name AzureADPreview -Repository psgallery
If you have an older version installed then it’s a good idea to update the module. This way you will have access to the latest cmdlets of the module.
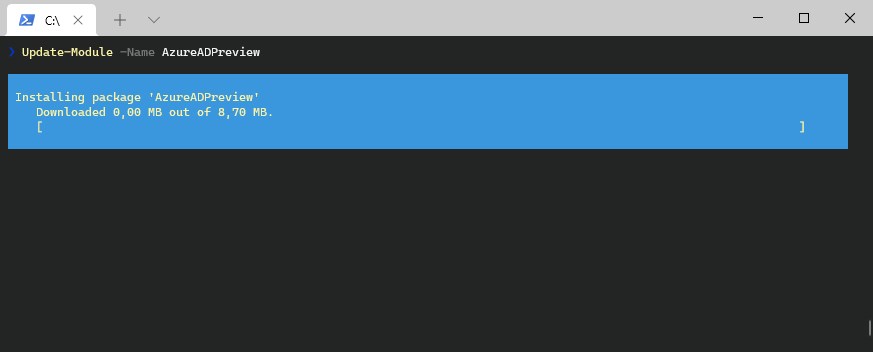
We are going to use the Update-Module cmdlet to update the module:
Update-Module -Name AzureADPreview
Again press Y to install the module from an untrusted source
Wrapping Up
For now, is the Azure AD module still the easiest way to go to manage our Azure Active Directory users with PowerShell. But keep in mind that the module may stop working after June 2022.
Read more about the new module, Microsoft Graph SDK, in this article.
If you have any questions, just drop a comment below.


These applications have not been compiled for ARM, only amd64. So, doesn’t work from Windows in Parallels on an M1 based mac.