The Azure AD PowerShell module allows you to manage your Azure Active Directory with PowerShell. The first step to use this module is to use the Connect-AzureAD cmdlet. After you are connected, you can get, update, create, or remove objects in your Azure AD environment.
Good to know upfront that the AzureAD module is planned to be deprecated on March 30, 2024. It’s being replaced with the new Microsoft Graph module. Currently, the MgGraph modules are not fully documented yet, so the Azure AD module is still often used.
In this article, we will look at how to connect to AzureAD from PowerShell.
Requirements
Before we take a look at how to connect to Azure AD, we first need to make sure that you have the correct module installed in PowerShell. To check if the module is already installed, we can use the Get-Module cmdlet.
This will return all modules that match the given name. If the module isn’t installed, then it will return $null. To install it, we can use the Install-Module cmdlet:
if ($null -eq (Get-Module -ListAvailable -Name AzureAD)) {
    Write-Host "Installing Azure AD module" -ForegroundColor Cyan
    Install-Module AzureAD -Repository PSGallery -AllowClobber -Force
}
Connect AzureAD
Connecting to AzureAD is pretty simple. You will only need to run the command Connect-AzureAD, which will then prompt you to log in with your Microsoft 365 account. It will automatically use the interactive method, so you can select your account and use MFA to log in:
Connect-AzureAD
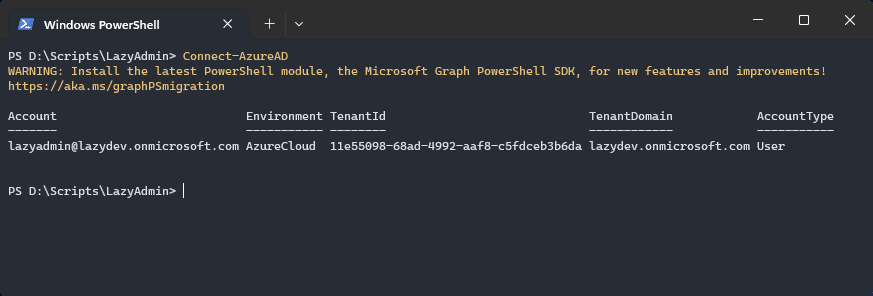
To check if you are connected successfully you can use the cmdlet Get-AzureADTenantDetail. This will show the tenant details to which you are connected.
Connecting to a Different Tenant
We can also use the AzureAD module to manage other tenants that we manage. To do this we will need to use the -tenantid parameter. Here you can enter either the tenant ID or the domain name of the tenant:
Connect-AzureAD -Tenant lazydev.onmicrosoft.com
Using Connect-AzureAD in a RunBook
You can also use the AzureAD module in an Azure Runbook. It’s only good to note that the module isn’t maintained anymore, so Managed Identies for example won’t work directly. To connect azuread in a runbook we will first need to use the AzModule.
The AzureAZ module allows you to manage your Azure environment. We can use this module to generate an access token, which we then can use to connect to Azure AD.
Note
If you haven’t used managed identies before, make sure you read this article on how to set it up and use it.
First, connect to Azure with the managed identity in your RunBook:
# Connect to Azure
$az = Connect-AzAccount -Identity
$az = Set-AzContext -SubscriptionName $az.context.Subscription -DefaultProfile $az.context
With the connection initiated, we can generate the required tokens and connect to AzureAD:
# Generate the token
$graphToken = Get-AzAccessToken -ResourceUrl "https://graph.microsoft.com/"
$aadToken = Get-AzAccessToken -ResourceUrl "https://graph.windows.net"

Connect-AzureAD -AccountId $az.account.id -TenantId $az.tenant.id -AadAccessToken $aadToken.token -MsAccessToken $graphToken.token
Wrapping Up
Keep in mind that the PowerShell AzureAD module is planned to be deprecated in March 2024. I recommend that you try to create your script with the new Microsoft Graph module first.
I hope this article helped you with the connect-azuread cmdlet. If you have any questions, just drop a comment below.


